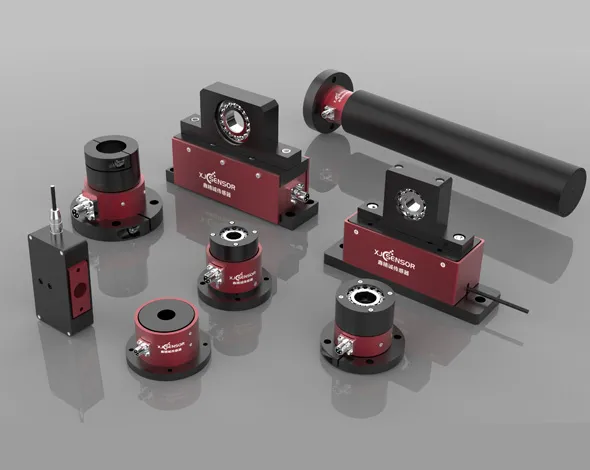
The test purpose of the load cell is to establish the correlation between the magnitude of the force value and the value of the rated output.
1) Unit of measurement
Since the 11th International Conference on Metrology in 1990, countries around the world have successively adopted the International System of Units (SI), which is a more complete and reasonable advanced unit developed on the basis of the metric system. It is specified in Newton (N) as a unit of force.
2) Force measurement method
The method error of measuring the force value can be measured by a method that is balanced with the known gravity, and various physical phenomena that are proportional to the force, such as elasticity, pressure, piezomagnetism and other effects can be used to measure the force. The common methods of measuring force can be summarized as the dynamic effect and static effect of using force.
① Using the dynamic effect to measure the force value. In the gravitational field, the gravity of the earth causes objects to produce gravity, called weight. Therefore, the weight of an object of known mass in a certain place in the gravitational field can be used to measure the force.
② Using the static effect to determine the force value. The static effect of force deforms an object. If the object is an elastic body, according to Hooke’s law, within the elastic range, its deformation is proportional to the force. The magnitude of the force can be known by measuring the amount of deformation.
3) Force measuring equipment
The most commonly used equipment for force measurement is a standard dynamometer, whose accuracy and range can be expected based on the sensor being tested.
4) Inspection procedures
The main procedures for testing the force sensor are: install the sensor on a standard force measuring machine; connect the detection system; check in order; data processing and calculation errors.
① Installation requirements. When the sensor under test is calibrated on the standard dynamometer, attention should be paid to the installation so that the load action index of the sensor is consistent with the phase of the standard dynamometer. Otherwise, it will bring errors to the test due to the influence of component force, lateral force or uneven force distribution. The conditions of load changes caused by incorrect installation are as follows.
② System connection:The detection system of the force sensor is divided into two parts: input volume and output volume, as shown in the figure.
When the sensor under test is an active sensor, no auxiliary power supply is needed.
③ Detection sequence: apply 0%, 20%, 40%, 60%, 80%, 100% of the force value to the sensor under test in turn. After the force value is applied again, the detection instrument will align or record the sensor every two strokes up and down for one measurement cycle, generally three cycles should be done.
This is the number of loading stages and the number of cycles of the usual detection sensor. According to the needs, the number of loading stages is 10 and the number of cycles is 5-10 times.
④ Data processing: The data at the measurement points will be calibrated in the data table proportionally. According to the definition of non-linearity, hysteresis, repeatability and sensitivity and its error calculation method, the maximum error of the index of the tested sensor is obtained. Then, according to the requirements of the professional standards of the sensor or the technical standards of the product, it is judged whether the sensor is qualified.
Shenzhen XJCSENSOR Technology Co., Ltd. is mainly engaged in the research and development of tension pressure sensors, miniature load cells, high-precision load cells, flowmeter sensors, S-type sensors, cantilever beam sensors, multi-dimensional force sensors, tension sensors, volume, and control instruments Supplier of production and force control system solutions.


